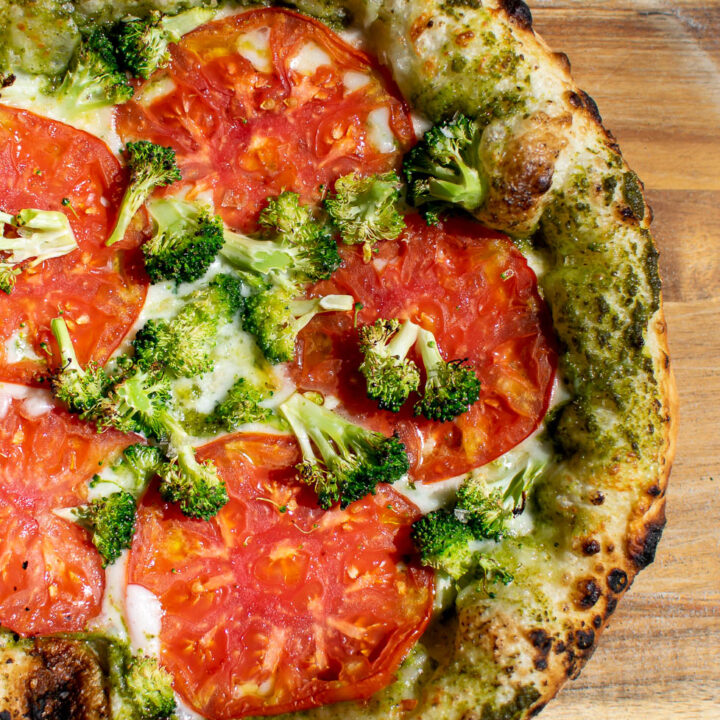
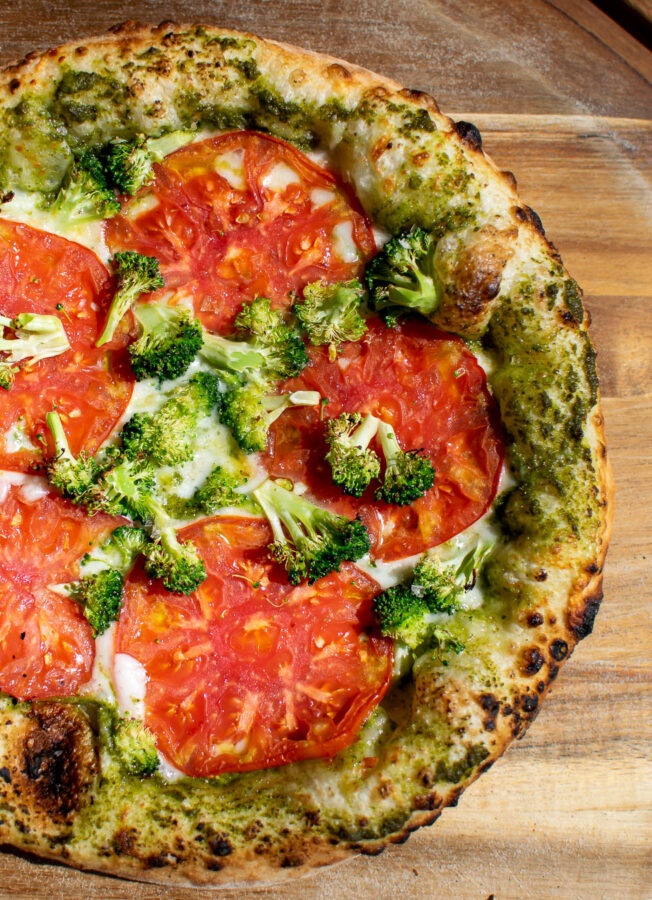
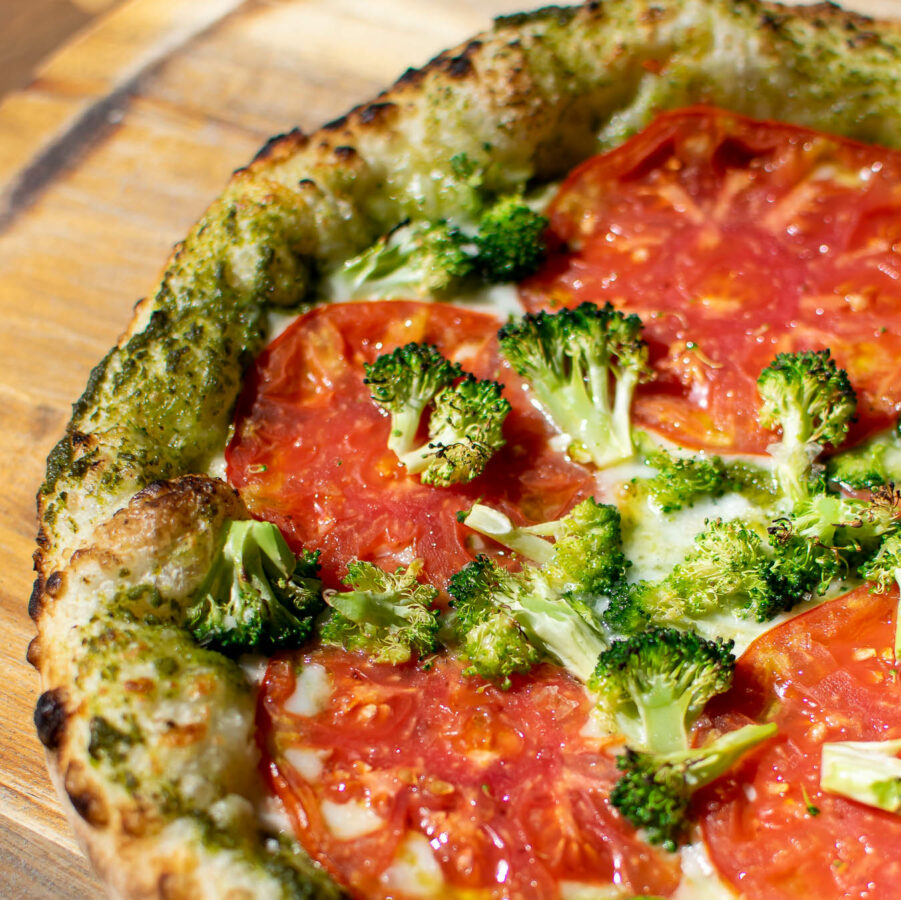
This Pesto Pizza with Tomatoes and Broccoli has a delicious savory pesto base, fresh ripe tomatoes and crisp broccoli. The perfect combo! Do not let the broccoli scare you off, it's such a great pizza topping!
This recipe is an homage to the Trader Joes frozen pizza (iykyk) that's sadly been discontinued. When I came to terms with the fact that it truly has been discontinued, I realized it was up to me to recreate it at home. The great news is, this homemade version is even better!
*This post may contain affiliate links. See disclosure for further details.
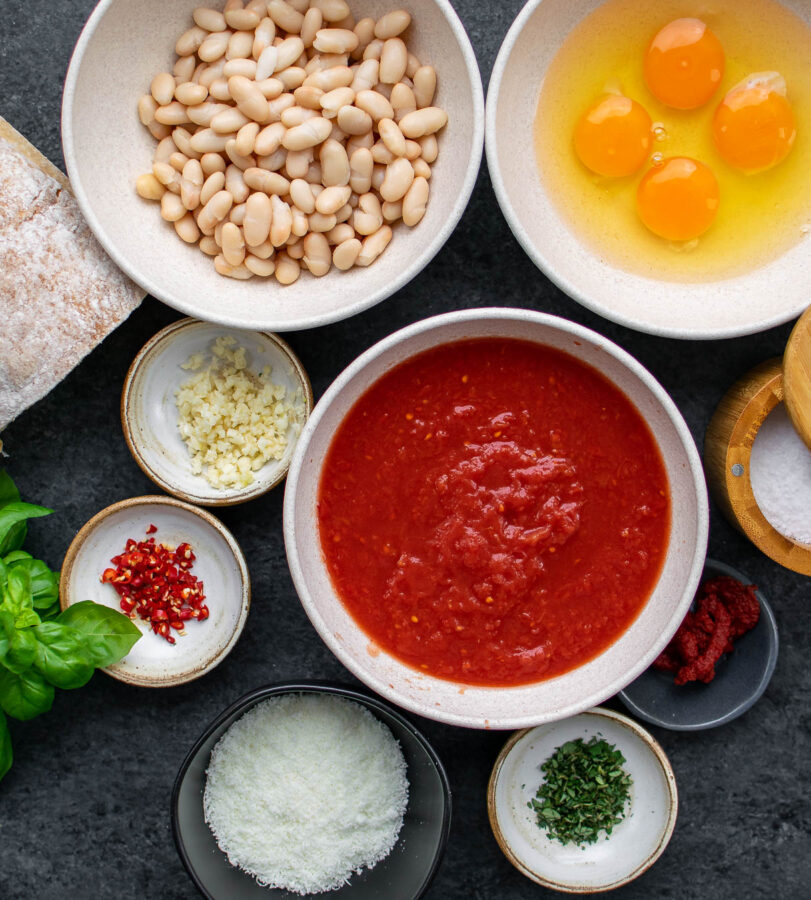
Ingredients
Pizza dough: You can use homemade or store bought dough for this recipe.
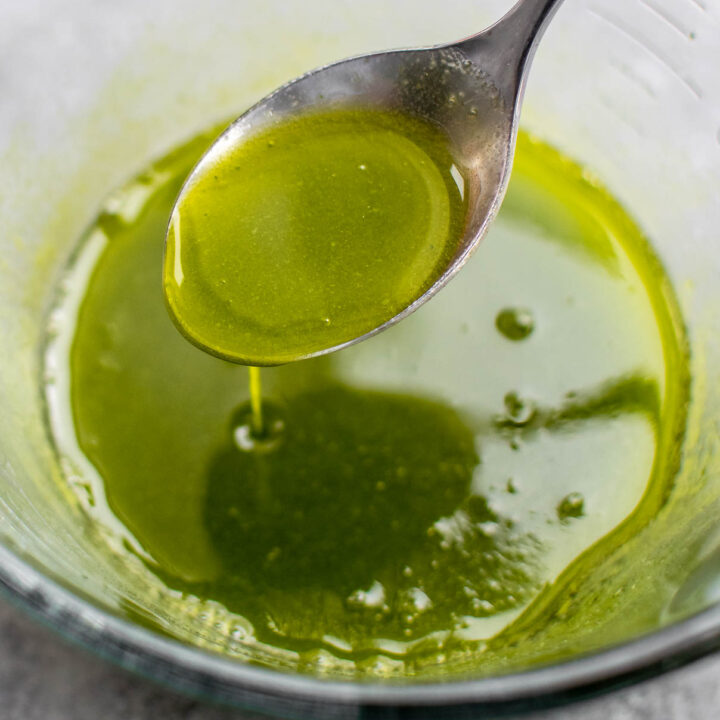
Pesto: I actually like using Trader Joe's vegan pesto for this pizza. It's really bright and fresh tasting, instead of being too oily like some store bought pestos can be. Of course, you can also use homemade pesto!
Fresh tomatoes: Make sure your tomatoes are nice and ripe! I like using heirloom tomatoes.
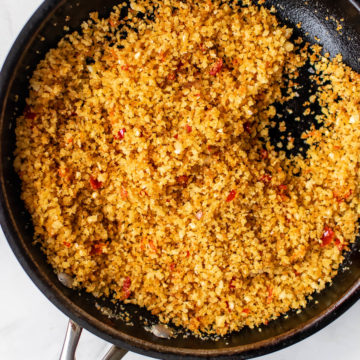
Broccoli: You'll need about ½ cup of broccoli florets for this recipe. Make sure to chop them fairly small so that they can cook through on the pizza.
Cheese: Low moisture mozzarella and parmesan are our two cheeses for this pizza. Skip fresh mozzarella for this recipe, it can make the pizza too soggy.
Flaky salt: Make sure to hit the tomatoes with a little sprinkle of flaky finishing salt after the bake! It really brings out the flavor.
Semolina: I like using finely ground semolina (semola rimacinata) to dust the pizza peel so that it slides easily into the oven.
Pizza oven or home oven?
You can easily make pizza in both a home oven or a pizza oven, but the techniques and cooking times will vary greatly depending on what you're using. A home oven will typically get up to 500 or 550 degrees F, whereas a pizza oven can reach temps of 900 to 1000 F. If you are using a home oven, I suggest using a pizza steel to get the oven as hot as possible. You can use a pizza stone as well, but I've found steels to be much better! The pizza in these photos was cooked in my Ooni pizza oven, which results in those delicious charred spots and only takes a couple minutes to cook!

Pizza Making Equipment
Pizza Oven: Of course you don't have to have a pizza oven to make a great pizza, but it helps! I love using my Ooni pizza oven.
Baking steel: I make all of my home oven pizzas using my baking steel. I can't recommend it enough! If you don't have a baking steel (get one), you can use a pizza stone, or a baking sheet in a pinch. The baking steel will hold heat the best, giving you the closest results to a pizza oven, in your home oven.
Pizza peel: After you stretch the dough, you'll transfer it to your pizza peel. This is where you'll add the sauce and toppings and then you'll use the peel to transfer the pizza to the steel or stone. It's tough to get your dough into the oven without a peel. Gotta have one! I like using a wooden peel to launch, and a metal peel to retrieve. For the pizza oven, you'll need a turning peel.
Box Grater: It's important to grate your own cheese for pizza because pre-shredded cheeses have anti-caking agents in them that cause them to not melt as well. You'll need a good box grater!
Recipe FAQ
Any pesto you want! You can use your favorite store bought pesto or homemade.
Technically yes, but it's not the best choice for a pizza oven. Cornmeal burns more easily than semolina and it can leave the pizza with a bitter taste. Semolina provides a nice crunch!
Yes! Many grocery stores sell pizza dough balls that are perfect to use if you're short on time or don't feel like making dough. You can also ask your favorite pizza shop to sell you some.
You might also like


Pesto Pizza with Tomatoes and Broccoli
Equipment
- Pizza steel
Ingredients
- 1 Pizza dough ball
- ½ Cup pesto
- 1 Tablespoon parmesan finely grated
- 1 Cup low moisture, whole milk mozzarella grated by hand
- heirloom tomato cut into ¼" slices
- ½ Cup broccoli florets cut into small pieces
- Olive oil for drizzling
- Flaky salt for garnish
Instructions
Home oven instructions
- Remove the pizza dough from the refrigerator about 2 hours ahead of time in order for it to come to temperature. You want the dough to be around 60-65 degrees when it's time to stretch it.
- Place a baking steel or pizza stone inside your oven and pre heat at 500 degrees for at least 30 mins, preferably an hour.
- Dust a clean counter top or work surface with flour and a bit of semolina. Place your pizza dough on the surface and stretch it into a 12 inch circle. Dust the pizza peel with semolina and transfer the dough to the peel.
- Quickly top the dough with the pesto, cheeses, tomatoes and broccoli. Drizzle with olive oil.
- Transfer the topped dough from the pizza peel to the baking steel and cook for 3 minutes. Then, using the peel, rotate the pizza 180 degrees and cook for another 3 minutes. Finish the pizza under the broiler for 1-2 minutes, until desired browning is achieved.
- Remove the pizza to a cooling rack for a few minutes so that the cheese can set before slicing.
Pizza oven instructions
- Remove the pizza dough from the refrigerator 2 hours ahead of time in order for it to come to temperature. You want the dough to be around 60-65 degrees when it's time to stretch it.
- Pre heat your pizza oven on high for 30 minutes before using to make sure the stone is heated through.
- Dust a clean counter top or work surface with semolina. Place your pizza dough on the surface and stretch it into a 12 inch circle. Dust the pizza peel with semolina and transfer the dough to the peel.
- Quickly top the dough with the pesto, cheeses, tomatoes and broccoli. Drizzle with olive oil.
- Turn the flame down to low and then transfer the topped dough from the pizza peel to the pizza oven. Let the bottom set for about 30 seconds to a minute and then turn. Continue cooking, turning every 20 seconds until the bottom is crisp and the cheese has melted, about 2 minutes.
- Remove the pizza to a cooling rack for a few minutes so that the cheese can set before slicing.