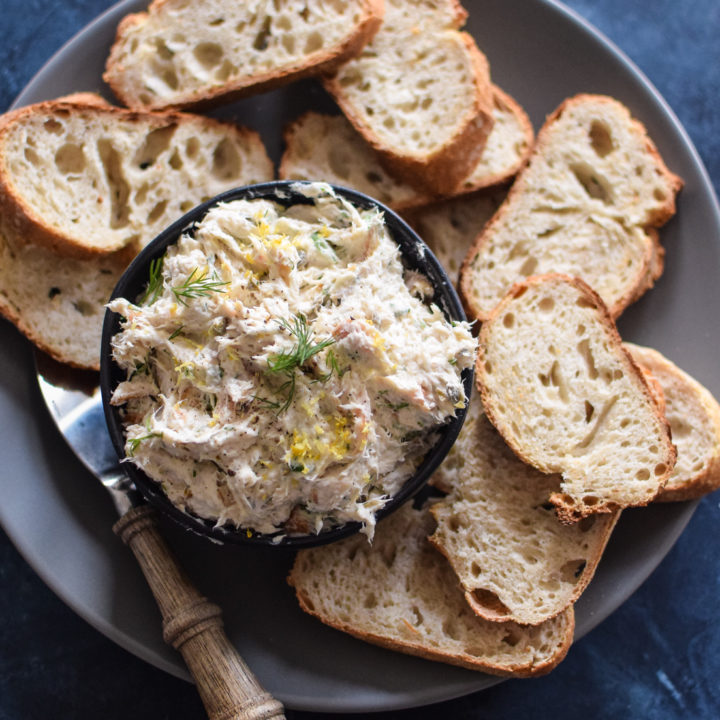
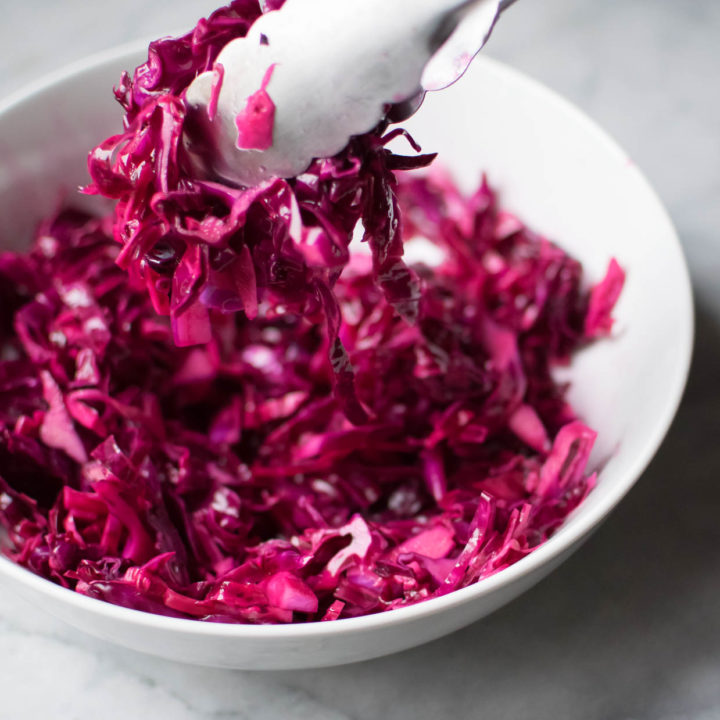
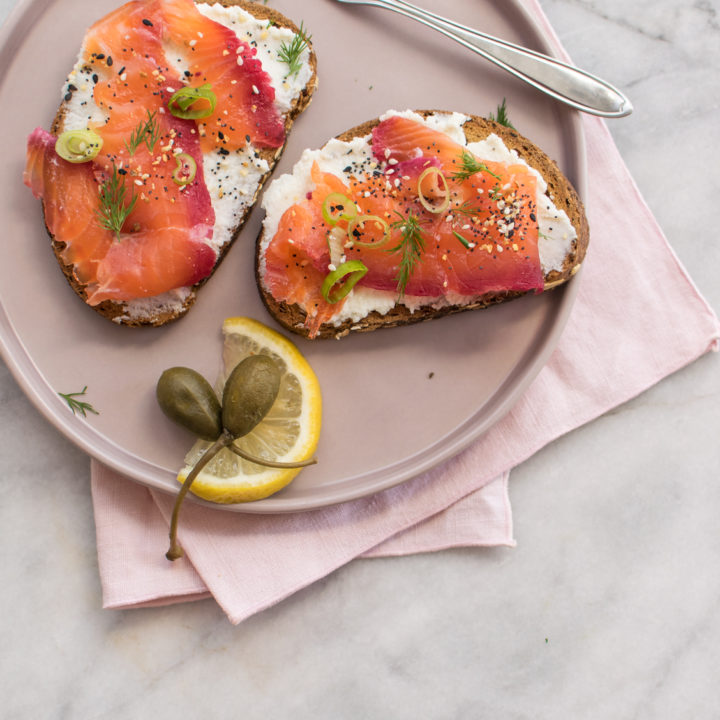
These Quick Pickled Shallots are incredibly easy to make and add an extra punch of flavor to so many dishes! Add them to salads, grain bowls, avocado toast, sandwiches, or my personal favorite- as the perfect garnish to a bagel with lox!
Ingredients
Shallots: You'll need about 4-6 shallots, depending on side. Look for fresh shallots that have skins without any bruising or brown spots.
Water: Water is the base for the easy pickling liquid.
Apple cider vinegar: I like using apple cider vinegar for this recipe because it imparts the best flavor. You can use white wine vinegar (not distilled) instead in a pinch.
Sugar: Regular granulated sugar is all you need for this recipe.
Salt: Just a teaspoon of salt will do the trick. Make sure to use kosher salt!
How to pickle shallots
Pickling shallots is incredibly easy and fast! Just a few simple steps and you're done.
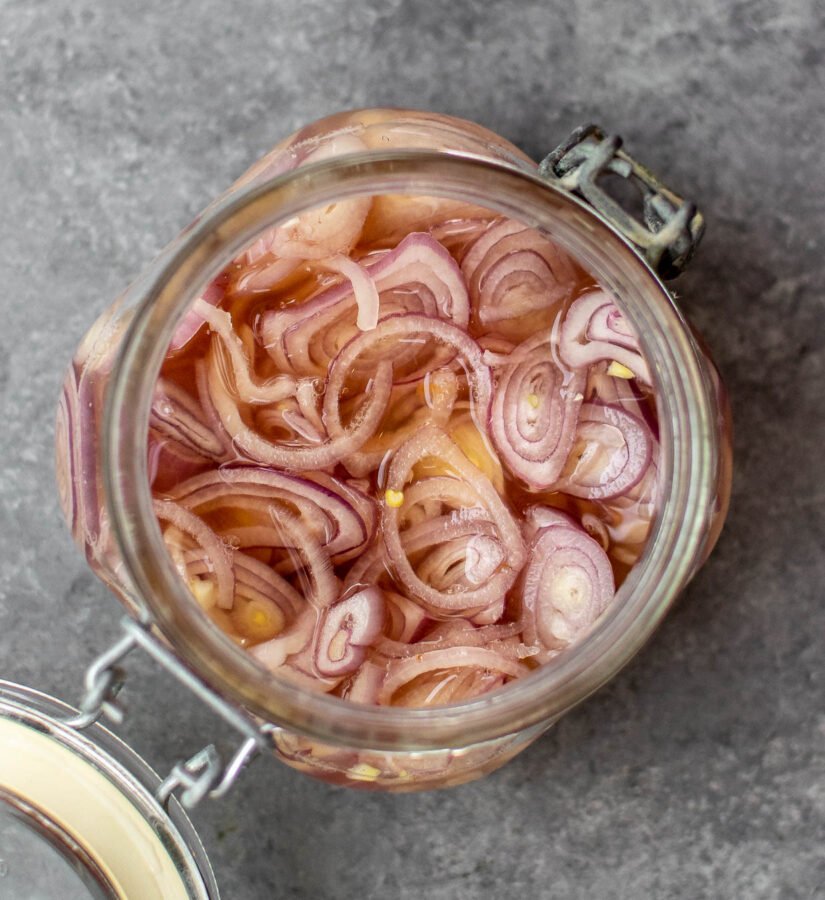
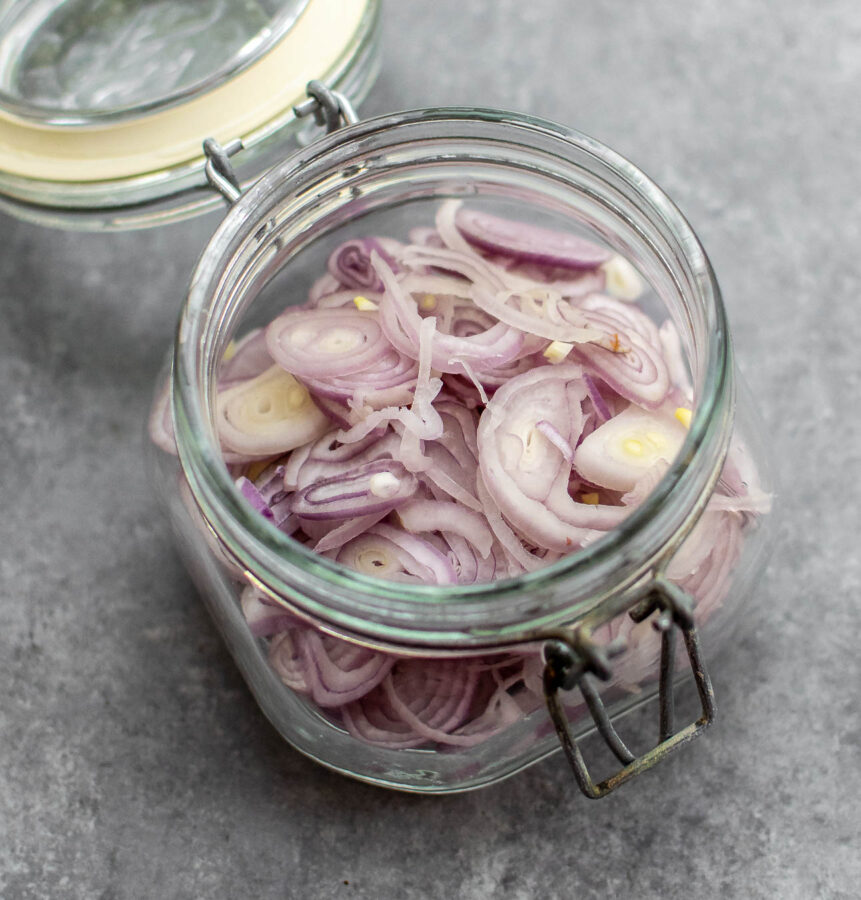
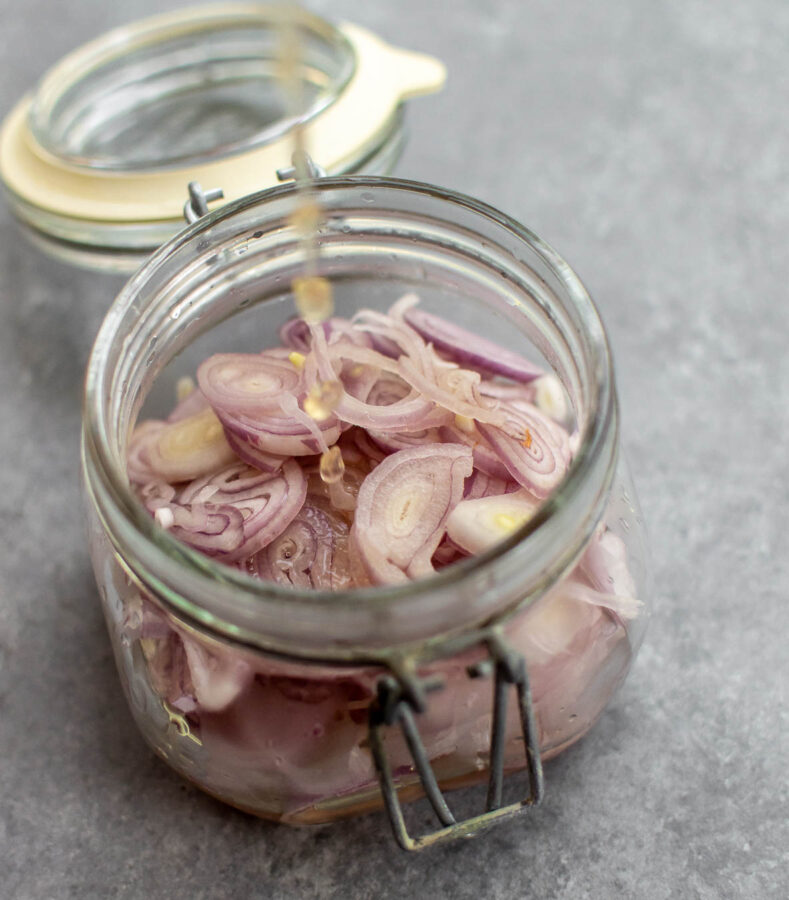
Step 1: Prep your shallots. Slice the shallots crosswise into thin rings and add them to a heat proof glass jar.
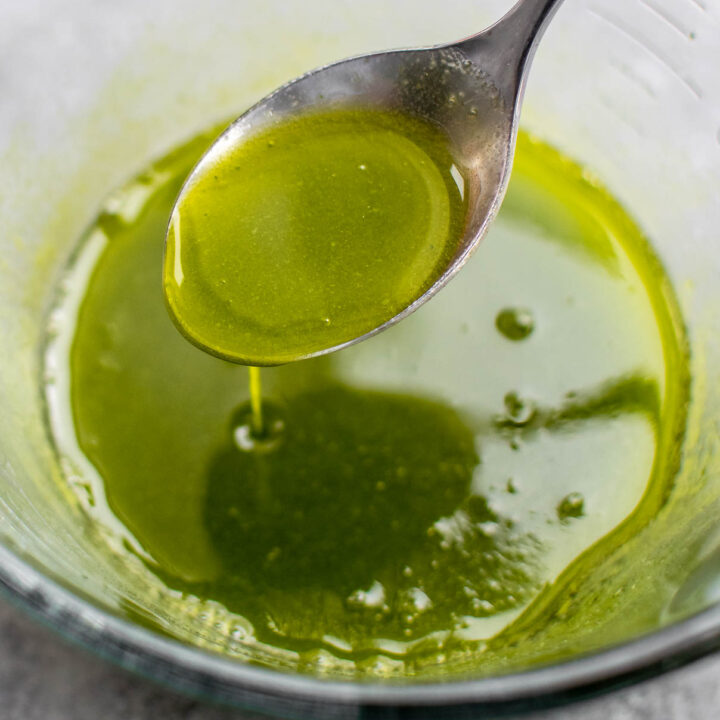
Step 2: Prepare the pickling liquid. Stir the water, vinegar, sugar and salt together in a small saucepan over medium heat until the salt and sugar have dissolved.
Step 3: Pour the pickling liquid over the shallots
Tips, Tricks and a Warning!
A Warning: There's one warning I want to get out of the way. Because of my (possibly irrational) fear of botulism, I want to warn and remind you that these are quick pickled shallots, meant to be stored in the refrigerator! They are NOT shelf stable, they will not last forever. Okay phew, moving on.
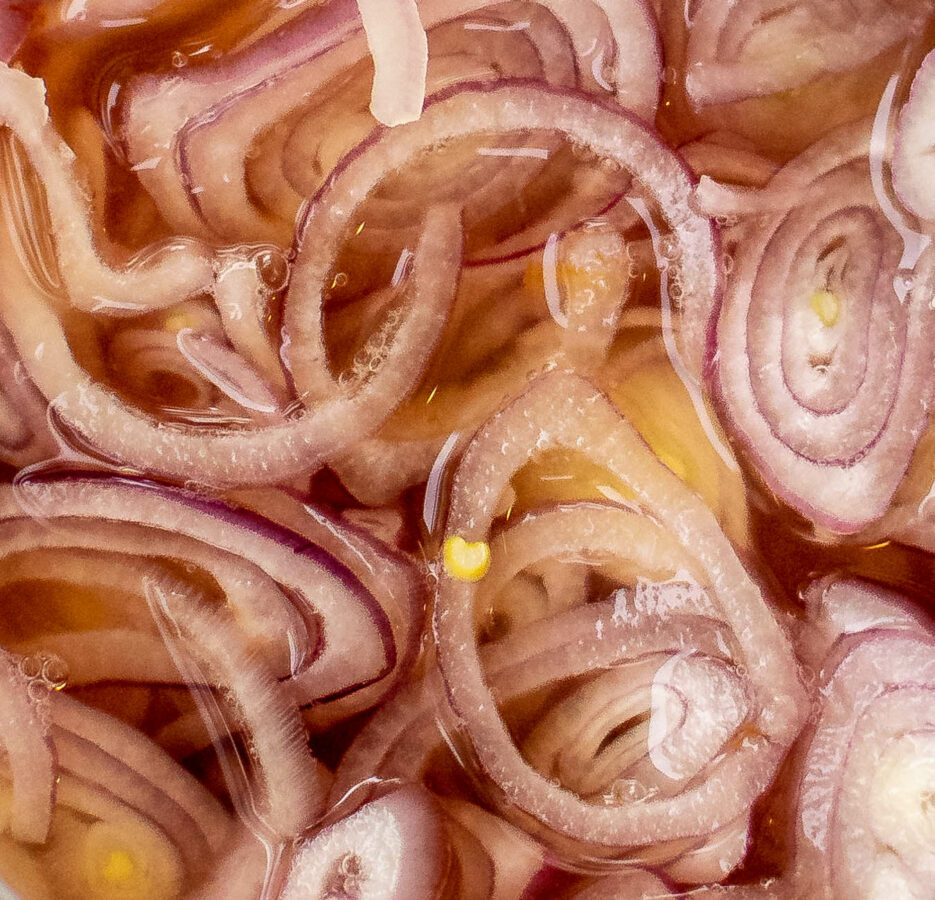
A Trick: You might think there's not enough pickling liquid at first, don't worry! As the shallots soften, they will shrink in the glass. You can push them down as they soften to make sure the shallots are covered by the liquid.
A Tip: Using clean utensils to remove the shallots from the jar every time (yes, every time!) will help the shallots last longer in the fridge. If, for example, you are making a sandwich and you've used a knife to spread mustard on your bread, do not then use that knife to take shallots out of the jar. The best way to make any jarred product last longer, is to use clean utensils every time.
Recipe FAQ
These quick pickled shallots will last for 2-3 weeks in the refrigerator.
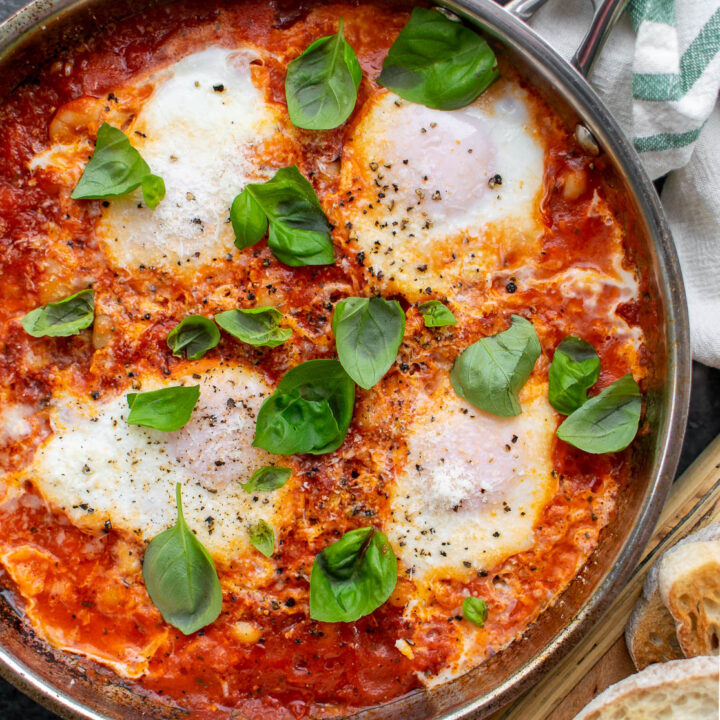
Just about anything! I love adding them to my lox bagels or eggs in the morning. They are also delicious in salads or on sandwiches.
You might also like

Quick Pickled Shallots
Equipment
Ingredients
- 4-5 Shallots thinly sliced
- ½ Cup water
- ⅓ Cup apple cider vinegar
- 1 Tablespoon sugar
- 1 Teaspoon kosher salt
Instructions
- Stir the water, vinegar, sugar and salt together in a small saucepan over medium heat.
- Add the sliced shallots to a jar. Pour the liquid over the shallots and let them sit for 20 minutes before using.